Growing cherry tomatoes using a Kratky hydroponic setup on my apartment balcony. Documenting the journey here.
Set up the Kratky containers — six 5-gallon buckets with net pots and clay pebbles. Using a basic nutrient mix (General Hydroponics Flora series). Transplanted the cherry tomato seedlings I started indoors three weeks ago. They're about 4 inches tall and looking healthy. Fingers crossed.
Roots are starting to peek through the net pots into the nutrient solution. The seedlings have each put out 2–3 new leaves. One plant looks a bit yellow — might need to adjust the pH. Currently sitting at 6.8, aiming for 5.5–6.5. Added some pH down.

The plants are taking off. Tallest one is now about 12 inches. The yellowing from last week resolved after the pH adjustment. Topped up the nutrient solution — the plants are drinking noticeably more now. Added a small trellis for support.
Spotted the first flower clusters this morning! Three of the six plants are flowering. The others aren't far behind. The root systems look incredible — thick, white, and healthy. Nutrient consumption has roughly doubled since week 2.
Here's the nutrient mix I've settled on for the flowering stage (per 5 gallons):
| Nutrient | Amount | Notes |
|---|---|---|
| FloraMicro | 10 mL | Always add first |
| FloraGro | 5 mL | Reduced from veg stage |
| FloraBloom | 15 mL | Increased for flowering |
| CalMag | 5 mL | Prevents blossom end rot |
| pH Down | As needed | Target 5.8–6.2 |
EC reads around 1.8–2.0 mS/cm, which seems right for cherry tomatoes in bloom.
Since we're on a balcony with limited wind and no bees, I'm hand-pollinating using an electric toothbrush. You just gently vibrate the flower clusters for a few seconds. The tomato plant is self-pollinating, so this mimics the buzz of a bee. Seems to be working — some flowers are already starting to set fruit.
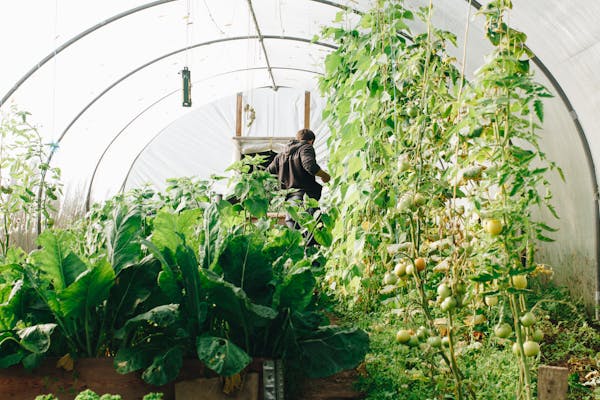
We have tiny green tomatoes! About a dozen across all six plants. The largest ones are marble-sized. Increased the nutrient concentration slightly now that we're in the fruiting stage. The plants are about 2 feet tall and bushy. Had to reinforce the trellis.
One plant developed blossom end rot on two fruits — classic calcium deficiency sign. Added CalMag to the nutrient mix. Removed the affected fruits. The rest of the plants look great. We're getting full sun for about 6 hours a day, which seems to be enough.
Lesson learned: Always include CalMag from the start, especially with soft water or RO water. Waiting until symptoms appear means you've already lost a few fruits. Prevention is easier than correction in hydroponics.
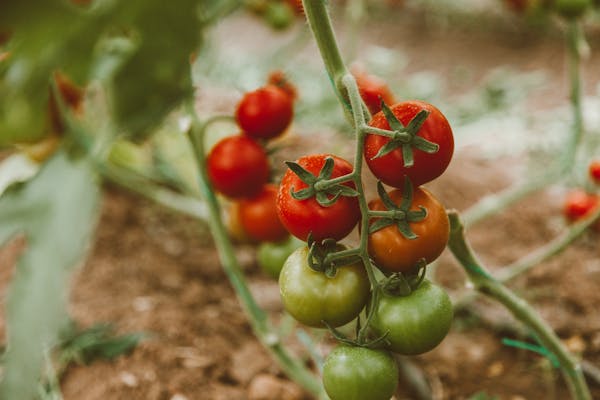
The first tomatoes are starting to blush! The ones on the south-facing bucket are ahead of the others. I count about 40+ fruits across all plants now. The smell when you brush against the leaves is amazing — that unmistakable tomato vine scent.
Picked the first ripe cherry tomatoes today — 14 of them! They're sweet, firm, and taste way better than store-bought. The Kratky method has been surprisingly low-maintenance. Total cost so far: about $60 for everything (buckets, nutrients, net pots, clay pebbles). Easily worth it.
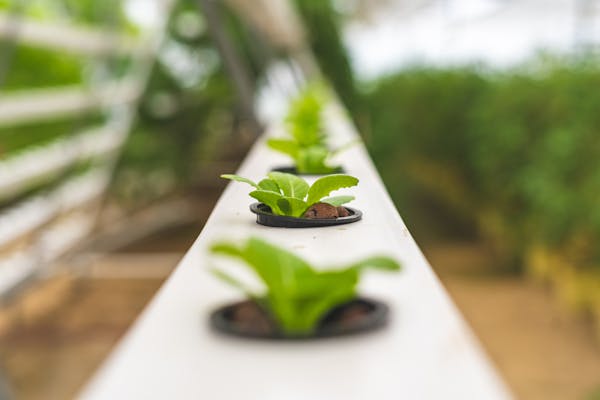
Harvesting every 2–3 days now. Getting about 20–30 tomatoes per pick. Giving bags away to neighbors. The plants show no signs of slowing down. Planning to try lettuce and herbs next — they're supposed to be even easier in Kratky setups.